Beginners Guide to Camera Settings: Capture Like a Pro
Cameras have become an essential part of our lives, capturing memories and moments we cherish. However, for many beginners, the array of settings and options can be overwhelming.
If you've ever found yourself staring at your camera's menu, wondering what each setting does and how it affects your photos, you're not alone.
The Exposure Triangle: Foundation of Photography
The exposure triangle is a fundamental concept in photography that consists of three interconnected elements: aperture, shutter speed, and ISO. These settings work together to determine the overall exposure and appearance of your images.
Aperture: Controlling Depth of Field and Light
Aperture refers to the opening in your camera lens that allows light to pass through to the sensor. It is measured in f-stops, with lower f-numbers (e.g., f/1.8) representing wider apertures and higher f-numbers (e.g., f/16) representing narrower apertures.
A wide aperture allows more light to enter the camera, resulting in a brighter image and a shallow depth of field, which means that only a small portion of the image is in sharp focus. This is ideal for portraits or when you want to isolate your subject from the background.
Conversely, a narrow aperture allows less light to enter the camera but provides a greater depth of field, ensuring that more of the image is in focus. This is useful for landscape photography or when you want everything in the frame to be sharp.
Shutter Speed: Freezing or Blurring Motion
Shutter speed is the length of time the camera's shutter remains open, exposing the sensor to light. It is measured in seconds or fractions of a second.
A fast shutter speed (e.g., 1/1000s) freezes motion, making it perfect for capturing fast-moving subjects like athletes or wildlife. On the other hand, a slow shutter speed (e.g., 1/30s or longer) can create a sense of movement by blurring moving elements in the frame.
This technique is often used to capture flowing water, moving clouds, or light trails. Keep in mind that slower shutter speeds may require the use of a tripod to prevent camera shake and ensure sharp images.
ISO: Balancing Light Sensitivity and Image Noise
ISO determines your camera sensor's sensitivity to light. Lower ISO values (e.g., 100-400) are suitable for well-lit scenes and produce images with minimal noise or grain.
Higher ISO values (e.g., 1600 or above) increase the sensor's sensitivity, allowing you to capture images in low-light situations without using a flash. However, the trade-off is that higher ISO settings introduce more noise into your images, which can appear as grainy or speckled textures.
Finding the right balance between ISO and image quality is crucial, and it often depends on the lighting conditions and your artistic intent.
How These Three Elements Work Together
To achieve a well-exposed image, you must balance aperture, shutter speed, and ISO based on the available light and your creative goals.
For example, if you want to capture a sharp image of a moving subject in low light, you might choose a wide aperture to let in more light, a fast shutter speed to freeze the motion, and a higher ISO to compensate for the lack of light.
Conversely, if you're shooting a landscape on a bright day, you might use a narrow aperture for a large depth of field, a slower shutter speed since nothing is moving, and a low ISO to minimize noise.
Understanding Camera Modes
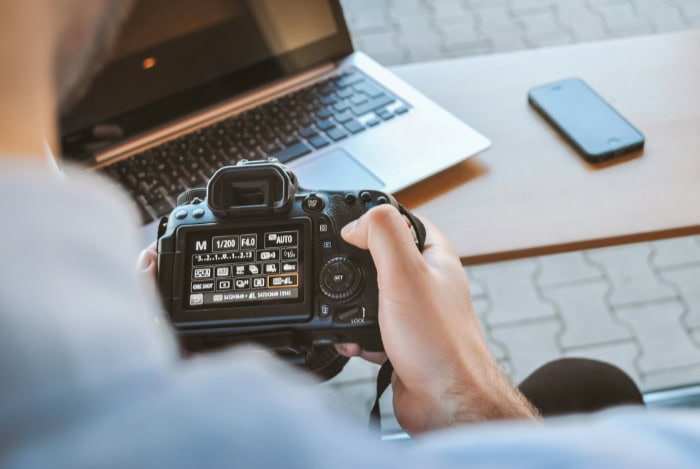
Modern cameras offer a variety of shooting modes that cater to different skill levels and creative intentions. These modes range from fully automatic settings to complete manual control, with semi-automatic options in between.
Choosing the right camera mode for a given situation can help you capture the perfect shot and develop your photography skills.
Auto Mode
Auto mode is the simplest and most beginner-friendly setting on your camera. In this mode, the camera automatically adjusts the aperture, shutter speed, and ISO based on the scene it detects.
This mode is ideal for quick snapshots or when you're just starting out and want to focus on composition rather than technical settings. However, auto mode has its limitations.
The camera may not always choose the optimal settings for your creative vision, and it may struggle in challenging lighting conditions. As you gain more experience, you'll want to explore other modes that give you more control over your images.
Semi-Auto Modes
Semi-automatic modes allow you to take control of specific aspects of the exposure triangle while the camera handles the rest. These modes are perfect for learning how each setting affects your images and for situations where you want to prioritize one aspect of the exposure over others.
Aperture Priority (A or Av)
In aperture priority mode, you set the desired aperture value, and the camera automatically selects the appropriate shutter speed and ISO to achieve a balanced exposure. This mode is ideal when you want to control the depth of field, such as when shooting portraits with a blurred background or landscapes with a large depth of field.
Shutter Priority (S or Tv)
Shutter priority mode allows you to choose the shutter speed while the camera sets the aperture and ISO. This mode is useful when you want to freeze fast-moving action or create motion blur for artistic effect.
It's also helpful in situations where you need to ensure a minimum shutter speed to avoid camera shake, such as when shooting handheld in low light.
Program Mode (P)
Program mode is a semi-automatic setting that allows the camera to choose both the aperture and shutter speed, while you can adjust other settings like ISO, white balance, and exposure compensation. This mode provides a good balance between automatic and manual control, making it a useful stepping stone as you learn to take command of your camera settings.
Manual Mode
In manual mode, you have complete control over the aperture, shutter speed, and ISO. This mode is the most challenging but also the most rewarding, as it allows you to create images exactly as you envision them.
Manual mode is essential for situations where the camera may be fooled by tricky lighting, such as when shooting in backlit or high-contrast scenes. It's also the preferred mode for many professional photographers who want to fine-tune every aspect of their exposure.
As you become more comfortable with your camera, experiment with different modes to see how they affect your images. Don't be afraid to make mistakes – they're an essential part of the learning process.
With practice, you'll develop an intuitive understanding of which mode works best for each situation, and you'll be able to switch between them effortlessly to capture the perfect shot.
Mastering Focus and Composition
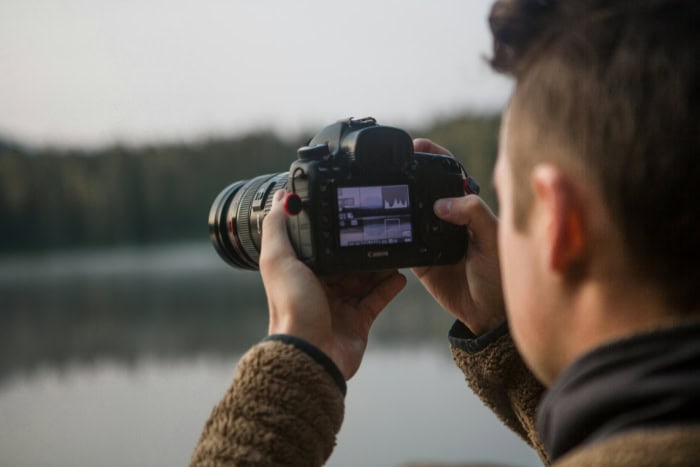
In addition to exposure settings, focus and composition are crucial elements in creating stunning photographs. Mastering these aspects will help you create sharp, visually appealing images that effectively communicate your intended message or emotion.
Autofocus vs. Manual Focus
Modern cameras offer two main focusing methods: autofocus (AF) and manual focus (MF). Autofocus is a convenient feature that allows the camera to automatically adjust the lens to achieve sharp focus on the subject.
It works well in most situations, particularly when dealing with static subjects or predictable movement. However, there are times when manual focus is preferable, such as when shooting through obstacles like fences or when the camera struggles to find focus in low-contrast scenes.
Manual focus gives you complete control over what part of the image is sharp, but it requires more skill and practice to master.
Focus Modes: Single, Continuous, and Hybrid
Within the autofocus system, cameras offer different focus modes to suit various shooting scenarios. Single AF (AF-S) is ideal for stationary subjects, as it locks focus once the subject is sharp and remains fixed until you take the picture.
Continuous AF (AF-C) is designed for moving subjects, as it continuously adjusts focus as long as the shutter button is half-pressed. This mode is perfect for sports, wildlife, or any situation where the subject is in motion.
Some cameras also offer a hybrid mode, such as AF-A or AI Focus AF, which automatically switches between single and continuous AF depending on whether the subject is moving or stationary.
Metering Modes: How Your Camera Measures Light
Metering is how your camera determines the correct exposure by measuring the brightness of the scene. There are three main metering modes: matrix (or evaluative), center-weighted, and spot metering.
Matrix metering divides the frame into zones and analyzes each one to determine the overall exposure, making it suitable for most shooting situations. Center-weighted metering prioritizes the central area of the frame while still considering the surrounding areas, making it useful for portraits or when the subject is in the middle of the frame.
Spot metering measures light from a small, specific area (usually 1-5% of the frame), allowing you to precisely meter off a particular subject or area, such as a performer on a stage or a backlit subject.
Composition Basics and How Settings Affect It
Composition refers to the arrangement of elements within the frame to create a visually pleasing and impactful image. Some basic composition techniques include the rule of thirds, leading lines, framing, and symmetry.
The rule of thirds involves dividing the frame into a 3×3 grid and placing key elements along the lines or at the intersections for a balanced composition. Leading lines guide the viewer's eye through the image towards the main subject, while framing uses natural or man-made elements to surround and highlight the subject.
Symmetry creates a sense of balance and harmony by mirroring elements on either side of the frame.
Your camera settings can affect composition in various ways. For example, a wide aperture (low f-number) creates a shallow depth of field, blurring the background and drawing attention to the subject, while a narrow aperture (high f-number) keeps more of the scene in focus, which is useful for landscapes or group shots.
The focal length of your lens also impacts composition, with wide-angle lenses (short focal lengths) emphasizing foreground elements and creating a sense of depth, while telephoto lenses (long focal lengths) compress the scene and make distant objects appear closer together.
Fine-Tuning Your Images
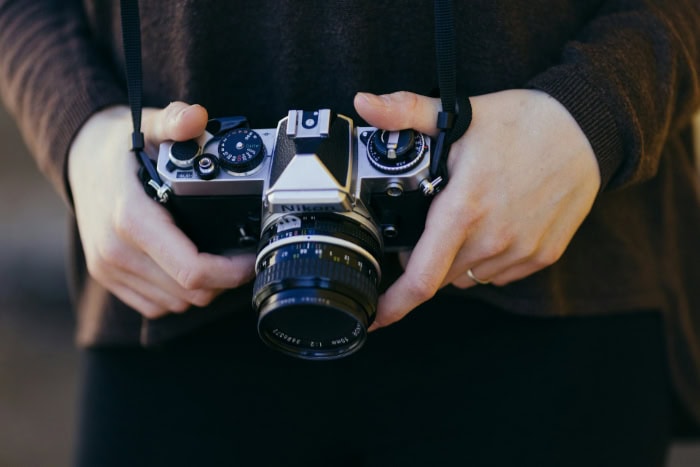
Once you've mastered the basics of exposure, focus, and composition, you can start fine-tuning your images to achieve the best possible results.
White Balance
White balance is a setting that adjusts the color temperature of your images to ensure that white objects appear white under different lighting conditions. Each light source (e.g., sunlight, shade, fluorescent, or incandescent) has a different color temperature, which can cause color casts in your photos if not corrected.
Most cameras offer automatic white balance (AWB), which works well in many situations, but sometimes it can struggle with mixed lighting or extreme color temperatures. In these cases, you can use preset white balance options (such as daylight, cloudy, or tungsten) or set a custom white balance using a white or gray reference card.
By selecting the appropriate white balance setting for the scene, you'll achieve more accurate and natural-looking colors in your images.
Picture Styles/Creative Modes
Picture styles, also known as creative modes or photo styles, are preset combinations of sharpness, contrast, saturation, and color tone settings that you can apply to your images in-camera. These styles allow you to achieve a specific look or mood without the need for post-processing.
Common picture styles include Standard (default), Vivid, Neutral, Landscape, Portrait, and Monochrome. Each style emphasizes different aspects of the image, such as boosting colors for landscapes or smoothing skin tones for portraits.
Experiment with different picture styles to find the ones that suit your creative vision, but keep in mind that these settings are applied permanently to JPEG files, so it's best to shoot in RAW if you want maximum flexibility in post-processing.
Image Quality and File Formats (RAW vs. JPEG)
Image quality settings determine the file format, resolution, and compression level of your photos. The two main file formats are JPEG and RAW.
JPEG is a compressed format that is widely compatible and easy to share, but it discards some image data during compression, which can limit your ability to edit the photo later.
RAW, on the other hand, is an uncompressed format that retains all the image data captured by the camera's sensor. RAW files are larger and require specialized software to process, but they offer much more flexibility in post-processing, particularly when it comes to adjusting exposure, white balance, and color settings.
If storage space is not a concern, shooting in RAW+JPEG mode gives you the best of both worlds: the convenience of JPEGs for sharing and the editing power of RAW files.
Using Histograms to Evaluate Exposure
A histogram is a graphical representation of the tonal distribution in your image, displaying the number of pixels at each brightness level from black (left) to white (right). By checking the histogram, you can quickly assess whether your photo is properly exposed or if it has clipped highlights (overexposed areas) or crushed shadows (underexposed areas).
A well-exposed image will typically have a histogram that spans the full range of tones without significant gaps or spikes at either end. If the histogram is bunched up to the left, the image may be underexposed, while a histogram skewed to the right indicates potential overexposure.
Keep in mind that some scenes, such as those with large areas of black or white, may naturally produce histograms with peaks at the ends. Use the histogram as a guide, but always trust your eye and creative judgment when evaluating exposure.
Practical Application and Common Scenarios
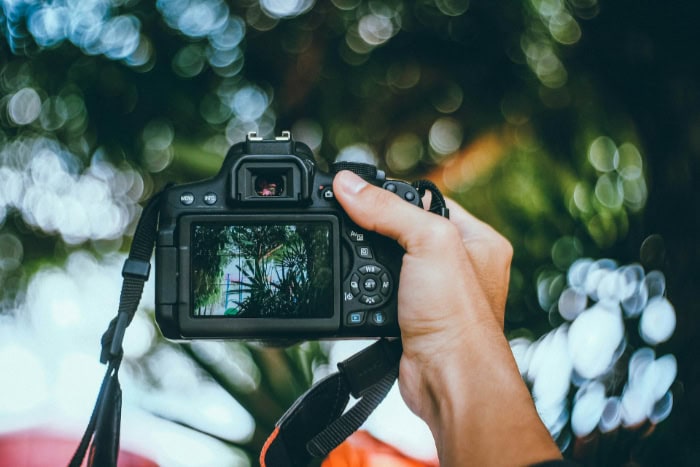
Now that you have a solid understanding of camera settings and how they work together, it's time to apply this knowledge to real-world shooting scenarios.
Landscape Photography Settings
Landscape photography often requires a large depth of field to keep the entire scene in focus, from foreground elements to distant horizons. To achieve this, use a narrow aperture (high f-number) such as f/11 or f/16.
Since a narrow aperture limits the amount of light entering the camera, you'll need to compensate with a slower shutter speed and/or higher ISO. Use a tripod to ensure sharpness when using slower shutter speeds.
For the best image quality, shoot in RAW format and use the lowest ISO possible. If your scene has a wide dynamic range (bright highlights and dark shadows), consider using graduated neutral density filters or bracketing your exposures for later blending in post-processing.
Portrait Photography Settings
Portrait photography typically benefits from a shallow depth of field, which helps to isolate the subject from the background and create a pleasing bokeh effect. To achieve this, use a wide aperture (low f-number) such as f/1.8 or f/2.8.
The exact aperture will depend on the desired depth of field and the distance between the subject and background. Use a shutter speed fast enough to avoid motion blur (e.g., 1/125s or faster) and an ISO that maintains good image quality (e.g., 100-400).
If shooting outdoors, consider using a reflector or fill flash to soften shadows and bring out detail in the subject's face. For indoor or studio portraits, experiment with different lighting setups to create the desired mood and emphasize the subject's features.
Action/Sports Photography Settings
Capturing fast-moving subjects requires a combination of quick reflexes and the right camera settings. To freeze motion, use a fast shutter speed (e.g., 1/500s or faster) and a wide aperture (low f-number) to let in more light.
Continuous AF mode and burst shooting will help you track the subject and increase your chances of getting the perfect shot. If possible, position yourself perpendicular to the subject's path of motion to minimize blur.
Depending on the lighting conditions, you may need to increase your ISO to maintain a fast shutter speed, but be mindful of image noise. Monopods or image stabilization can help reduce camera shake when using longer lenses.
Anticipate the action and pre-focus on a specific spot to capture the decisive moment.
Low-Light Photography Settings
Low-light situations, such as night photography or indoor events, can be challenging due to the limited available light. To capture sharp, well-exposed images, start by using a wide aperture (low f-number) to maximize the light entering the camera.
If your subject is stationary, use a slower shutter speed and a tripod to avoid camera shake. If you must shoot handheld, increase your ISO to maintain a shutter speed fast enough to prevent blur from camera shake (e.g., 1/60s or faster).
Be aware that high ISO settings can introduce noise, so find the right balance between shutter speed and ISO for your situation. If your camera has built-in image stabilization or your lens has optical stabilization, make sure to enable it.
Consider using manual focus or pre-focusing to avoid autofocus hunting in low-light conditions.
Remember, these are general guidelines, and the optimal settings will vary depending on the specific scene, lighting conditions, and your creative intent. Don't be afraid to experiment and deviate from these recommendations to achieve your desired results.
The more you practice and analyze your images, the more intuitive your camera settings will become, allowing you to adapt quickly to any shooting scenario.
Conclusion
Mastering your camera settings is a powerful way to elevate your photography and bring your creative vision to life. By grasping the fundamentals of the exposure triangle, camera modes, focus, composition, and image fine-tuning, you'll have the tools to adapt to any shooting scenario and capture stunning images.
Remember that photography is an art form, and the “right” settings will depend on your artistic intent and the specific situation. Embrace experimentation, learn from your successes and failures, and don't be afraid to push the boundaries of your creativity.
With practice and persistence, you'll develop an intuitive understanding of your camera and be able to make quick adjustments on the fly. Keep challenging yourself to try new techniques, explore different genres, and find your unique photographic style.
The journey to becoming a skilled photographer is a continuous learning process, but with the knowledge gained from this guide, you're well on your way to unlocking your camera's full potential and creating images that captivate and inspire.

