Fix Nvidia GeForce Drivers Not Downloading or Installing
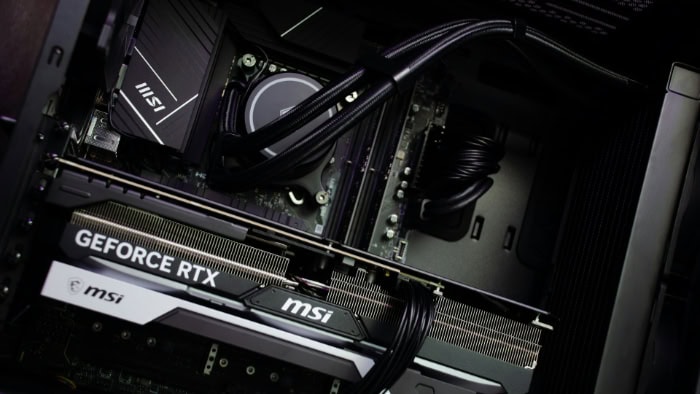
Your Nvidia GeForce drivers are essential for unlocking the full potential of your GPU, but the process of downloading or installing them doesn’t always go as planned. Failed updates, endless error codes, or unexpected crashes can be infuriating and leave your system struggling to perform as it should.
These issues can disrupt gaming, productivity, or any GPU-intensive tasks, making it crucial to address them quickly and effectively.
Prerequisites and System Check
Before diving into fixing Nvidia GeForce driver issues, it’s essential to ensure your system is properly prepared. Taking some time to verify compatibility, assess your system’s current status, and confirm available resources can save you from unnecessary troubleshooting later.
Verify GPU Compatibility
The first step is to confirm that your Nvidia GPU is compatible with the driver you’re attempting to install. Nvidia frequently releases updates tailored to specific models, so downloading the wrong driver might result in errors or failed installations.
Steps to Check Your GPU Model:
- Open Device Manager on Windows.
- Expand the Display adapters section.
- Identify your Nvidia GPU from the list.
Once you have the exact model, visit Nvidia's official website and ensure the driver version you’re downloading is specifically designed for that GPU.
Additionally, confirm if your GPU belongs to a supported series, as older cards may no longer receive updates, which could lead to performance instability. Keeping these details in mind ensures you’re working with a driver that matches your hardware.
Check System Requirements
Every driver update comes with specified system requirements, including supported operating systems, RAM, and processor specifications. Installing a driver on a system that doesn’t meet these prerequisites can lead to failures or suboptimal performance.
Navigate to Nvidia’s driver support page, where you’ll typically find a list of minimum requirements for each driver version.
Make sure your operating system version matches what’s specified. For example, certain drivers may require Windows 10 64-bit or newer.
Also, ensure your system has adequate processing power and memory to support the driver’s functionality. This is especially important for users running high-performance GPUs on older systems, where hardware limitations might impede smooth operation.
Current Driver Status Assessment
Sometimes, the root cause of driver issues lies in a conflict with currently installed drivers. Identifying the status of your existing Nvidia drivers is an essential diagnostic step.
Steps to Check Your Current Driver Status:
- Open Nvidia Control Panel or GeForce Experience.
- Look for the current driver version, which is typically displayed prominently.
Alternatively, you can use Device Manager:
- Select your Nvidia GPU under Display adapters.
- Right-click on the GPU and select Properties.
- Navigate to the Driver tab.
In this tab, you’ll find the installed driver’s version and date. If the installed version is outdated or mismatched with your GPU, it may lead to performance issues or errors.
Knowing the status of your current driver helps determine whether a clean removal is necessary before proceeding with the installation of new drivers.
Available Disk Space Verification
Drivers, especially larger updates, require sufficient disk space for proper installation. If you’re running low on storage, the installer might fail or encounter repeated errors.
Check your available disk space by opening “This PC” or “File Explorer” and reviewing the free storage on the drive where your operating system and Nvidia-related files are stored—this is usually the C: drive.
For best results, clear unnecessary programs or temporary files to create additional space. Tools like Windows Disk Cleanup or third-party storage managers can help with this task.
Aim to have at least a few gigabytes of free space available to prevent interruptions during the download and installation process.
Common Download Issues
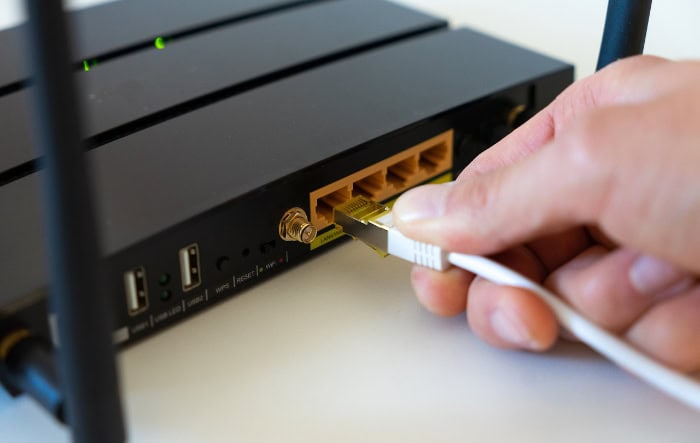
Downloading Nvidia GeForce drivers should be straightforward, but several issues can disrupt the process, leaving users stuck without the latest updates. Problems during downloads can be caused by anything from network issues to server-side problems on Nvidia’s end.
Addressing these challenges is critical to ensuring the process runs smoothly and the files are ready for installation.
Network Connectivity Problems
For a successful download, a stable internet connection is non-negotiable. Large file sizes and high demands on bandwidth make Nvidia driver downloads vulnerable to interruptions caused by slow speeds, unstable Wi-Fi, or network drops.
If the connection is unreliable, downloads can fail partway through or result in damaged files.
Start by testing your internet connection, either through a speed test or by monitoring its stability. For a more reliable experience, connect to the internet via a wired Ethernet cable rather than relying on Wi-Fi, which can fluctuate.
Closing other applications that consume bandwidth, such as streaming services or background downloads, will also help prioritize the driver download.
Another helpful tip is to use a VPN service like Cloudflare’s 1.1.1.1 app. Unlike using just the DNS settings, the app routes your connection through an optimized path, which can help stabilize your internet.
This is particularly useful if your ISP has performance inconsistencies or if you’re downloading during a period of high network congestion.
GeForce Experience Authentication Errors
GeForce Experience, Nvidia’s dedicated software for managing drivers, requires users to log into an account before accessing downloads. Occasionally, authentication errors can arise due to incorrect credentials or faulty server communication.
If you’re dealing with login issues, start by confirming your account details and resetting your password if necessary.
Sometimes, authentication errors are tied to network problems or temporary server outages. If logging in fails repeatedly despite correct credentials, try restarting GeForce Experience or checking Nvidia’s server status via their support page or online communities.
Reinstalling GeForce Experience can also resolve issues tied to corrupted application files or outdated software versions.
Installation Blockers
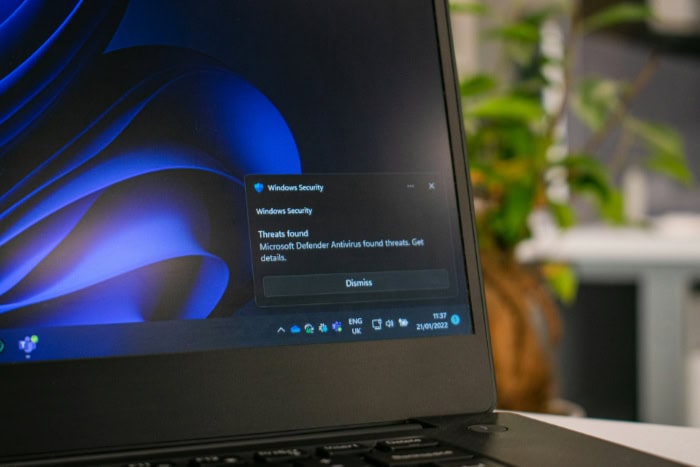
Successfully installing Nvidia GeForce drivers can sometimes be hindered by various installation blockers. These issues can stem from conflicting processes running in the background, antivirus software interfering, conflicts with Windows Update, or insufficient permission settings.
Conflicting Background Processes
Multiple programs running simultaneously can create conflicts during installation. Applications that utilize GPU resources or system settings, such as other driver installation utilities, video games, or rendering software, can interfere with the Nvidia installation process.
If there are conflicting applications, your installation might fail, or the driver may not function correctly once installed.
To resolve this issue, it’s advisable to close any unnecessary applications before starting the driver installation. You can open the Task Manager (Ctrl + Shift + Esc) to see which programs are running and end tasks that aren’t required.
Additionally, resetting your computer to a clean state by restarting can help clear any background processes that might interfere, ensuring a smooth installation environment.
Antivirus Interference
Antivirus software, while essential for protecting your system, can sometimes mistakenly identify legitimate driver installations as potential threats. This can result in blocked installations, corrupted files, or the application of outdated drivers.
If you’ve encountered issues during the installation process, it’s worth investigating whether your antivirus is causing interference.
To address this, temporarily disable your antivirus software during the installation process. Remember to re-enable it once the installation is complete to maintain your system's security.
If problems persist, consider adding the Nvidia installer to your antivirus’s whitelist or exceptions list, which allows the installer to run without being blocked or scrutinized.
Windows Update Conflicts
Windows Update can occasionally conflict with the installation of Nvidia drivers, especially if there are pending updates that require a system restart. If your computer is preparing to install updates, it may prevent the driver installation from proceeding smoothly.
Furthermore, certain Windows updates may introduce incompatibility issues with existing drivers.
Before starting the installation of Nvidia drivers, it’s beneficial to check for and complete any pending Windows updates. Open the Windows Update settings and ensure that your system is up to date.
After completing updates and rebooting, you can attempt the driver installation again.
Permission and Access Rights
Installation issues may arise when the user lacks the necessary permissions to install software on the operating system. This is particularly common on Windows systems where user accounts have restricted access levels.
Without administrative rights, the installation process may halt or fail entirely.
To ensure you have the required permissions, try running the Nvidia installer as an administrator. Right-click on the installer file and select “Run as administrator.”
If you are using a work or shared computer, you may need to contact the system administrator for assistance. Ensuring that your user account has administrative privileges can simplify the installation process and prevent permission-related errors.
Clean Installation Process

A clean installation of Nvidia GeForce drivers can resolve persistent issues like crashes, glitches, or performance problems. This process involves removing all existing driver files thoroughly before installing the new version, ensuring that no corrupted or outdated files interfere with your GPU's performance.
Safe Mode Preparation
Before proceeding with a clean installation, it's advisable to boot your computer into Safe Mode. This mode starts Windows with minimal drivers and background processes, which can help eliminate potential conflicts during the uninstallation of previous drivers.
Steps to Access Safe Mode:
- Restart your computer.
- Press the F8 key (or Shift + F8) repeatedly before Windows starts loading.
- From the menu that appears, select “Safe Mode.”
- Alternatively, access Settings > Update & Security > Recovery > Restart now, then select “Troubleshoot” > “Advanced options” > “Startup Settings” > “Restart.” Choose Safe Mode from the options provided.
Once your system is in Safe Mode, you are ready to remove the existing Nvidia drivers.
Display Driver Uninstaller (DDU) Usage
Using Display Driver Uninstaller (DDU) is a highly effective method for completely removing Nvidia drivers from your system. DDU is a specialized tool designed to wipe out all traces of graphics drivers, preventing any conflicts during installation.
Steps to Use DDU:
- Download DDU from its official website and extract the files to a convenient location.
- Launch DDU while still in Safe Mode.
- In the DDU interface, select the option for Nvidia and confirm your choice.
- DDU will proceed to uninstall the driver and delete any associated files, including registry entries.
- After the process is complete, restart your computer normally.
Manual Driver Removal Steps
If you prefer not to use DDU, you can manually remove Nvidia drivers through Windows.
Steps for Manual Removal:
- Open Control Panel.
- Navigate to Programs and Features.
- Locate Nvidia drivers in the list of installed software.
- Select the drivers and click on Uninstall.
- Follow the prompts to fully remove the drivers from your system.
After uninstallation, ensure that any residual files are cleared:
Clearing Residual Files:
- Open File Explorer and navigate to:
- C:\Program Files\NVIDIA Corporation
- C:\ProgramData\NVIDIA Corporation
- Delete any remaining folders related to Nvidia.
Fresh Installation Procedure
Once you have completely uninstalled the previous drivers, you can proceed with the fresh installation of the latest Nvidia GeForce drivers.
Steps for Fresh Installation:
- Download the latest Nvidia drivers directly from Nvidia’s official website.
- Ensure you select the driver that matches your specific GPU model and operating system.
- Close all other applications to prevent conflicts.
- Right-click on the downloaded file and select “Run as administrator.”
- Choose the “Custom Installation” option during the setup process.
- This will allow you to select specific components and ensure a clean installation.
- Follow the on-screen instructions to complete the installation.
- After the installation completes, restart your computer to finalize the setup.
Following these structured steps ensures that your Nvidia drivers are installed cleanly, free from any remnants of outdated files that could hinder performance. A clean installation can enhance stability and graphics performance, allowing your system to operate at its best.
Troubleshooting Methods
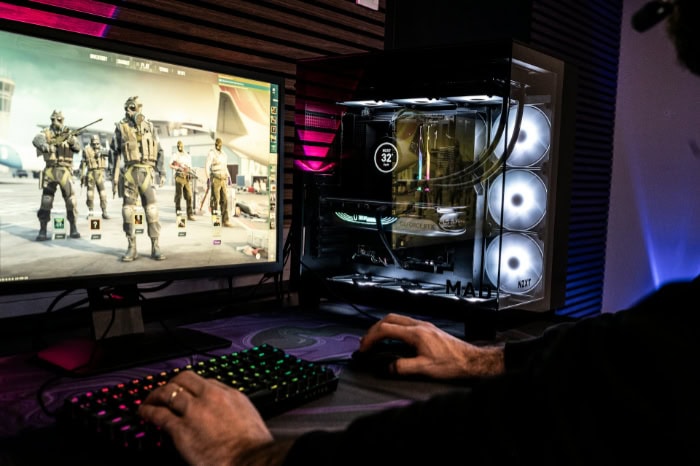
Encountering issues with Nvidia GeForce drivers can be frustrating, especially when trying to pinpoint the exact cause. Various troubleshooting methods can help diagnose and resolve problems effectively.
Error Code Interpretation
Error codes generated during driver installation or operation can provide crucial hints for diagnosis. When encountering an error code, take note of it, as it can often be searched for online to find related issues and solutions.
Nvidia has a support page where common error codes are listed along with explanations and troubleshooting steps.
For example, an error code like “43” typically indicates that the hardware is not functioning correctly, which may signal a driver issue or even a hardware malfunction.
Deciphering these codes allows you to target your troubleshooting efforts precisely, which can save time and frustration.
Log File Analysis
Log files are generated during the installation and operation of the Nvidia drivers and can reveal the underlying causes of issues. Analyzing these logs may seem complex, but they can provide detailed information about what went wrong during the installation or while the driver was in use.
To access log files, navigate to the C:\Program Files\NVIDIA Corporation\Installer2 directory, where you’ll find installation logs related to the drivers. Look for files named with the date and time of the installation or errors.
Opening these files with a text editor allows you to read the entries. Focus on any warnings or error messages highlighted in the logs, as they can point you toward specific problems that may need to be addressed.
System Restore Points
If issues arise after a driver installation or update, utilizing System Restore Points can be an effective way to revert your computer to a previous state when the Nvidia drivers were functioning correctly. This method helps mitigate problems without extensive troubleshooting and can restore stability to your system quickly.
- Click the Start button.
- Type Create a restore point and select it from the list. This opens the System Properties window.
- In the System Properties window, under the System Protection tab, click the System Restore button.
- Click Next in the System Restore wizard.
- You’ll see a list of restore points. Select a restore point that was created before the issue occurred. You can click Scan for affected programs to see which programs and drivers will be affected.
- After selecting the desired restore point, click Next and then confirm your choice by clicking Finish.
- A warning message will appear, indicating that once started, the process cannot be interrupted. Click Yes to begin the restoration.
- Your computer will restart, and the restoration process will take place. This may take some time, so be patient.
- Once the process is complete, your computer will boot back up, and you should see a message indicating whether the restoration was successful.
System Restore does not affect your personal files, but it will uninstall apps and drivers installed after the chosen restore point.
Recovery Options
If problems persist despite attempting other troubleshooting methods, exploring recovery options may be necessary. Windows provides several built-in recovery tools to address various issues, including driver malfunctions.
Steps to Access Recovery Options:
- Navigate to Settings.
- Select Update & Security.
- Click on Recovery.
Here, you’ll find choices such as:
- Reset this PC: This option reinstalls Windows while allowing you to keep your personal files.
- Advanced startup: This option provides tools for troubleshooting and fixing startup issues, including access to Safe Mode.
Using these recovery tools can restore functionality to your system, allowing you to reinstall or update drivers without encountering previously faced issues.
Post-Installation Verification
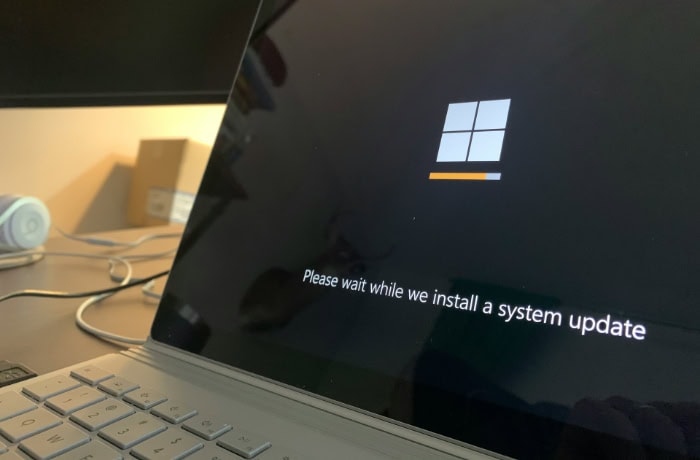
After successfully installing Nvidia GeForce drivers, it’s crucial to verify that everything is functioning as expected. Conducting thorough checks helps ensure that the installation process was successful and that the new drivers are enhancing your system's performance.
Driver Version Confirmation
Confirming the driver version is a fundamental step in post-installation verification. Ensuring that the installed version matches what was intended helps determine whether the installation was successful and that the latest update is in place.
Steps to Check the Driver Version:
- Right-click on the desktop and select Nvidia Control Panel.
- In the Control Panel, navigate to the Help menu and click on System Information.
- A new window will open, displaying details about the installed driver, including the version number.
You can also check through Device Manager:
- Expand the Display adapters section.
- Right-click on your Nvidia GPU and select Properties.
- Navigate to the Driver tab.
Confirm that the version number aligns with what is listed on the Nvidia website for the most recent driver release.
Performance Testing
Once the driver version has been verified, conducting performance tests is essential to assess how well the new drivers are functioning with your system. Performance testing can involve running benchmarks or playing games to evaluate graphics quality and frame rates.
Using benchmarking tools like 3DMark or Unigine Heaven can effectively measure GPU performance under different loads. These tools provide detailed output on frame rates, graphics scores, and overall system performance.
Additionally, engage with a few graphically intensive games or applications to gain a real-world sense of how effectively the new drivers enhance performance. Look for improvements in frame rates, reduced stuttering, and overall smoother experiences.
System Stability Check
Another crucial aspect of post-installation verification is ensuring system stability. After installing new drivers, it’s important to check for any unusual behaviors or crashes that may indicate issues with driver compatibility or installation.
Monitor how your system performs during regular use, especially when running graphics-intensive applications. Keep an eye out for unexpected crashes, random freezes, or unusual error messages.
If problems arise, consider revisiting your installation or checking for additional updates or patches that may resolve any conflicts.
Conclusion
Managing Nvidia GeForce drivers effectively is essential for maximizing performance and ensuring a stable experience on your computer. Each phase of the process—whether addressing download issues, performing clean installations, or verifying driver status—contributes to a well-functioning system.
Post-installation verification steps, including performance testing and graphics settings optimization, are vital for confirming that the new drivers are enhancing your GPU’s capabilities. Being equipped with troubleshooting methods and recovery options allows users to respond swiftly to any challenges that may arise.
With these practices in place, you can enjoy improved graphics performance and a smooth, responsive system for all your gaming and creative tasks.

