A Step-by-Step Guide to Cleaning Your Headphone Jack
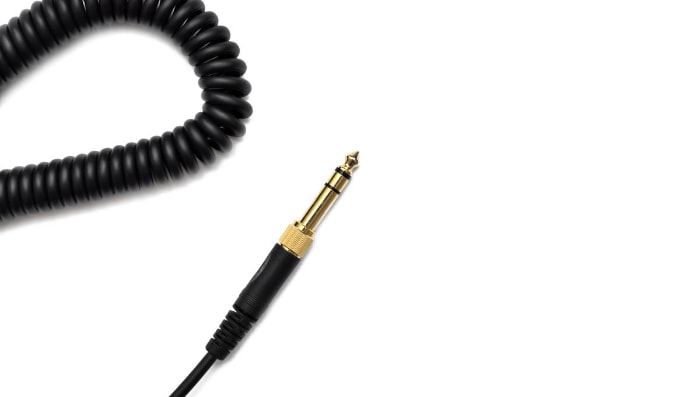
Keeping your headphones at optimal performance isn’t just about protecting the exterior, it also involves caring for the more hidden components. One such component, often overlooked but crucial to your audio experience, is the humble headphone jack.
This tiny part of your device, the gatekeeper of sound, is a magnet for dust, lint, and debris. Over time, these unwanted particles can accumulate and result in poor connections, sound distortion, or even a complete audio blackout.
Identifying the Signs That Your Headphone Jack Needs Cleaning
Knowing when to clean your headphone jack can help prevent more significant issues down the line. Here are some telltale signs that your headphone jack may need a thorough cleaning:
Compromised Sound Quality
One of the first signs that your headphone jack might need cleaning is a noticeable drop in sound quality. You might experience inconsistent sound in one or both ears, or the audio might crackle or distort.
Sometimes, the audio may cut out entirely, only returning when you adjust or wiggle the headphone plug.
Frequent Connection Issues
If you’re experiencing frequent connection issues such as your device failing to recognize your headphones, it could be due to a dirty headphone jack. Dust and debris can interfere with the connectivity, causing your device to struggle with recognizing the inserted headphones.
Noise During Audio Playback
Unusual noise during audio playback can be another sign. If you notice static or a buzzing sound when your headphones are plugged in, it could be due to dirt or grime lodged in your headphone jack, affecting the connection between your headphones and the device.
Recognizing these signs early can save you from unnecessary troubleshooting or the potential expense of thinking you need new headphones. A simple clean might be all your headphone jack requires to restore optimal function.
Essential Tools Needed for Cleaning Your Headphone Jack
Before you start the cleaning process, it’s crucial to gather all the necessary tools. Using the right materials can ensure that the cleaning process is effective without causing any damage to your device. Here are the tools you’ll need:
Cotton Swabs or Q-Tips
These are your primary tools for cleaning a headphone jack. Cotton swabs are soft and delicate, minimizing the risk of internal damage. Remember, you will need to use them carefully to avoid pushing the dirt further inside.
Rubbing Alcohol or Isopropyl Alcohol
This is used to moisten the cotton swab. Rubbing alcohol or isopropyl alcohol is an effective cleaning solution that can dissolve grime without damaging the electronic components inside the headphone jack. Make sure the alcohol you use is at least 90% for best results.
Compressed Air
A can of compressed air can be used to blow out any loose debris from the headphone jack. It’s an excellent way to start the cleaning process by removing any superficial dust or lint.
Toothpick or Other Small Non-Metal Tools
For stubborn debris that can’t be reached with a cotton swab, a toothpick or another small, non-metal tool can be handy. You’ll need to use it carefully to avoid scratching the inside of the jack.
Cleaning Putty (Optional)
Cleaning putty is a slightly sticky substance that can pull out dirt from the headphone jack. It’s not a must-have, but it can be useful if the jack is very dirty.
The Cleaning Process
Now that you’ve gathered all the necessary tools, it’s time to get down to business. Here’s a step-by-step guide to cleaning your headphone jack safely and effectively:
Power Off the Device
Safety first. Always switch off your device before you begin the cleaning process. This not only protects your device but also prevents any electrical mishaps.
Initial Clean with Compressed Air
Start by using a can of compressed air to blow into the headphone jack. This should dislodge any loose debris or dust. Remember, short, controlled bursts are best – avoid a continuous stream.
Cleaning with a Cotton Swab
Dip one end of a cotton swab into rubbing alcohol or isopropyl alcohol, ensuring it’s moist but not dripping. Insert the moistened end into the headphone jack and gently swirl it around. This will help break down any hardened grime or debris.
Use of a Toothpick for Stubborn Debris
If you find that there are still some stubborn bits of debris after using the cotton swab, use a toothpick or a similar small non-metal tool. Carefully insert it into the headphone jack and gently loosen the debris. Be careful not to scratch the internal parts.
Deep Cleaning with Cleaning Putty (Optional)
If your headphone jack is heavily soiled, you might need to use cleaning putty. Press the putty into the headphone jack, then pull it out. The putty will adhere to the dirt and help pull it out.
Final Cleaning with Compressed Air
Finish the cleaning process by giving the headphone jack another round of compressed air to blow out any dislodged debris.
By following these steps, you should be able to effectively clean your headphone jack without causing any damage. Remember, patience and gentle handling are key to ensuring the longevity and performance of your device.
Preventive Measures
Maintaining your headphone jack isn’t just about cleaning it periodically. There are also several preventive measures that you can take to minimize dirt accumulation and maintain optimal audio performance. Here are some tips:
Regular Cleaning
It’s good practice to clean your headphone jack periodically, even if you don’t notice any immediate issues. Regular cleaning helps prevent the accumulation of dust and debris. How often you should clean depends on your usage and environment, but generally, every 2-3 months is a good rule of thumb.
Use of Dust Plugs
Dust plugs are tiny devices that fit into your headphone jack when it’s not in use, preventing dust and debris from entering. They’re usually inexpensive and come in various designs that can also personalize your device.
Proper Handling and Storage
Always handle your device with clean hands to prevent oil or dirt from entering the headphone jack. When not in use, store your device in a clean, dry place. Avoid keeping your device in dusty areas or in your pocket, where lint can easily get into the headphone jack.
Avoiding Direct Contact with Dirt and Liquids
Avoid using your device in dirty or dusty environments, or near liquids. These can easily get into your headphone jack and cause problems.
What to Do If Issues Persist
After cleaning, your headphone jack should be free of any debris that might have affected its performance. However, if you’re still encountering issues, don’t worry. Here are some troubleshooting tips to guide you:
Check If the Sound is Still Not Perfect
If you’re still experiencing problems with your audio quality after cleaning, double-check your headphones. The problem might not be with the jack but with the headphones themselves. They might be damaged or may also need cleaning.
Possible Software Issues Affecting Sound
If your headphones and headphone jack are both clean, but you’re still facing audio problems, it could be due to a software issue. Try restarting your device or updating your device’s software. If you’re using a particular app for audio, check if that app needs updating or troubleshoot within the app’s settings.
Conclusion
Ensuring optimal performance of your audio devices involves regular maintenance of even the smallest components, like the humble headphone jack. Although it might seem trivial, a clean headphone jack can significantly improve your overall audio experience, safeguarding the clarity of your music, podcasts, calls, and other audio inputs.
From understanding the signs that your headphone jack needs cleaning, gathering the right tools, and following a detailed step-by-step cleaning process, to implementing preventive measures and troubleshooting post-cleaning issues, this guide provides a comprehensive look into maintaining the cleanliness of your headphone jack.
By keeping your headphone jack clean, you not only prolong the lifespan of your device but also maintain an uninterrupted, high-quality audio experience.
In the end, a little bit of preventive care and regular cleaning can save you a lot of trouble and keep your favorite tunes playing without a hitch.
