How Long Does it Take to Build a PC? A Detailed Breakdown

Building a PC sparks excitement and a bit of anxiety, especially when you consider how long the process might take. Popular build videos can make it seem like snapping parts together is a quick, stress-free feat, but reality often proves more nuanced.
Each step, from part selection to that satisfying first boot, is shaped by your experience, prep work, and the complexity of your chosen components. Rookies might need hours, while seasoned builders can race through assembly, yet everyone encounters surprises.
Setting realistic expectations will make your build far more enjoyable, help you avoid frustration, and ensure you end up with a PC that works perfectly the first time.
Core Time Estimates by Experience Level
Time spent building a PC often depends on your level of experience. From first-timers to those who have assembled dozens of rigs, your comfort with the process shapes how smoothly everything comes together.
Each level brings its own expectations and challenges, and knowing where you fit can help you plan your build day more realistically.
Beginners: 2–4 Hours for Assembly Plus Research Time
Putting together a computer as a beginner often feels both thrilling and intimidating. Expect to spend between two and four hours on assembly alone, not including the time dedicated to research before you even touch a screwdriver.
Learning the basics, reading manuals, watching tutorials, and double-checking each connection all add to the process. New builders frequently pause to confirm they have the right components, figure out which cable goes where, or look up solutions for minor uncertainties.
This extra caution is entirely normal and helps prevent costly mistakes.
Patience is essential when you are just starting out. The process encourages careful steps, so mistakes are caught before they become issues.
A beginner may spend more time on cable management or even redoing parts of the build just to make sure everything is in the right place. Don't worry if the hours add up; every minute spent double-checking is an investment in a successful first boot.
Intermediate Builders: 1–2 Hours
For those who have already built a PC or two, assembly time shortens noticeably. Expect to spend about one to two hours on the hardware.
Familiarity with the order of installation, the types of screws each case uses, and the best pathways for cables allows intermediate builders to work more confidently and swiftly. You may still pause to consult a manual for an unfamiliar case or new kind of connector, but the overall flow is far smoother.
Intermediate builders often enjoy the process more because previous experience reduces anxiety. Efficient routing of cables, thoughtful placement of components, and even minor troubleshooting become second nature.
Mistakes become less frequent, and if they happen, they are spotted early and handled quickly.
Experts: 30–60 Minutes
Seasoned PC builders move through the assembly process with remarkable efficiency. For experts, building a PC can take anywhere from just thirty minutes to an hour.
Repetition brings muscle memory and a keen awareness of every step, from applying thermal paste to routing cables cleanly. Experts rarely need to pause for manuals or guides.
Component compatibility checks, workspace setup, and troubleshooting are managed instinctively.
Even though experts move quickly, precision does not get sacrificed for speed. Years of building teach what to look out for and how to avoid common pitfalls.
The process can even become enjoyable or meditative, with each step flowing effortlessly into the next. Advanced skills also mean experts are prepared to spot and solve unexpected issues without much delay, keeping the overall timeline impressively short.
Step-by-Step Time Breakdown

Every PC build unfolds in stages that each demand their own time and attention. From carefully selecting compatible parts to physically assembling the system, every step shapes your building experience and the clock keeps ticking.
Knowing what to expect at each stage can help you stay organized and keep surprises to a minimum.
Physical Assembly
Putting together the heart of your computer is often the most anticipated part of any PC build. Installing the CPU onto the motherboard requires a steady hand and careful alignment, typically taking ten to twenty-five minutes.
This step can be nerve-wracking for newcomers, who want to avoid bent pins or incorrect placement, while experienced builders often move with confidence.
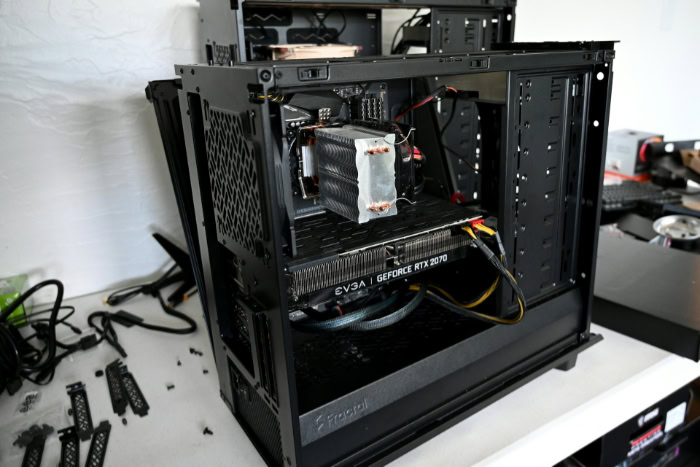
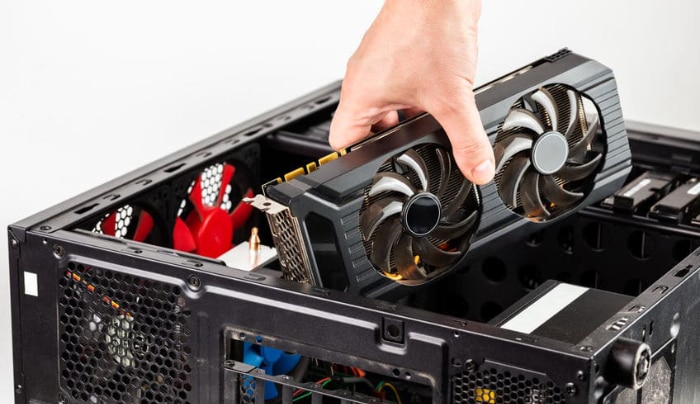
Next comes mounting your GPU, RAM, and storage devices, tasks that are generally straightforward and can be completed in five to fifteen minutes. Each component has a dedicated slot or bay, and following the motherboard's manual helps make installation quick and error-free.
M.2 drives and SATA cables connect easily, and RAM sticks snap into place with a satisfying click.
Cable management deserves special attention for both aesthetics and airflow. Running cables behind the motherboard tray, securing them with ties, and routing them cleanly through grommets can take anywhere from twenty to forty minutes.
Builders who take pride in their cable work might spend even longer, ensuring a neat interior that enhances cooling and makes the system easier to maintain.
Pre-Build Prep
Preparation is often overlooked but can greatly affect the overall experience. Part selection and compatibility checks frequently span several hours or even days, especially for those searching for the best deals or waiting for the right component to come back in stock.
Checking that each part works together, such as matching socket types, RAM speeds, and form factors, avoids frustrating setbacks down the line.
Organizing your workspace, laying out tools, and arranging your parts before you start building helps the process flow much more smoothly. Setting up the area usually takes fifteen to thirty minutes, but can save significant time later by preventing misplaced components or lost screws.
A clean, static-free surface and the right tools within arm’s reach make for a much more enjoyable and efficient build session.
Key Factors Influencing Build Time
No two PC builds play out exactly the same. Variables both big and small can have a dramatic impact on how long the entire process takes.
Factors such as the overall system complexity, the specific hardware chosen, and unexpected technical snags all play their part in extending or shortening your build time. Being aware of what might add minutes or hours ahead of time helps you plan for a more stress-free and enjoyable experience.
Complexity Variables
Some builds run much longer than others simply because of the ambition involved. Custom cooling loops and extensive RGB lighting setups, for instance, can transform a straightforward build into a full-scale project.
Installing liquid cooling systems or intricate RGB lighting often adds an extra one to three hours to your timeline, especially if you are routing tubing, filling reservoirs, or synchronizing multiple lighting brands. Each additional piece invites another layer of planning and execution that requires patience and precision.
Building inside a small form factor case can also extend the timeline. Compact cases demand greater attention to cable routing, airflow, and creative part arrangement.
Fitting large components into a tight space, while keeping everything tidy and cool, can take thirty to sixty minutes longer than a standard mid-tower build. Extra care is needed to prevent damaging cables or connectors, and you may find yourself redoing steps just to make everything fit.
Troubleshooting Scenarios
Even with careful planning, not every build goes according to script. Boot failures, unexpected part errors, or hardware compatibility issues can quickly eat up your afternoon.
If the system fails to post or a component doesn't work as expected, troubleshooting can easily add thirty minutes or more while you check connections, reseat components, or swap out parts.
Software and driver conflicts present their own unique delays. Installing the operating system might go smoothly until a driver refuses to cooperate or an update throws a wrench in your plans.
Sorting out these problems can take twenty to forty additional minutes, depending on the complexity of the issue and the amount of research or trial-and-error required to fix it. Staying patient and methodical helps prevent frustration during these moments and ensures a smoother road to a fully functioning PC.
Pre-Build Planning: Hidden Time Costs

Many new builders focus all their attention on the hands-on assembly, missing the often overlooked hours spent before a single screw turns. Planning, research, and setup can quietly stretch your timeline.
Proper preparation not only helps your build go smoothly on assembly day, but also ensures you get the most value for your money and avoid frustrating missteps.
Research Phase
Before you even order a single part, a significant investment of time goes into selecting components. Comparing performance and price to achieve the best mix for your goals can take hours or even days.
Weighing the strengths of each piece, thinking about future upgrade paths, and matching parts for optimal performance and compatibility all require careful consideration.
Hunting down the best deals also adds to the pre-build timeline. Monitoring price drops, reading reviews from other builders, and waiting for sales can lengthen the research phase, but pays off in the form of savings or better components.
Enthusiasts often find themselves revisiting wish lists, reading user feedback, and double-checking compatibility to avoid costly mistakes or disappointing bottlenecks.
Preparation Essentials
As parts finally arrive, time is needed to get organized and set up your workspace. Unboxing and laying out each component usually takes around fifteen minutes.
Arranging all parts neatly and familiarizing yourself with everything included helps prevent mid-build scrambles for missing pieces. Careful organization saves time, reduces confusion, and lowers the risk of accidents during assembly.
Static safety measures, though quick, are extremely important. A few minutes spent grounding yourself or setting up an anti-static wrist strap can save the heartache of accidentally damaging valuable electronics.
One small investment of five minutes for static safety can prevent expensive mishaps. Proper organization and safety checks create the foundation for a successful, stress-free build.
Post-Assembly Setup & Testing

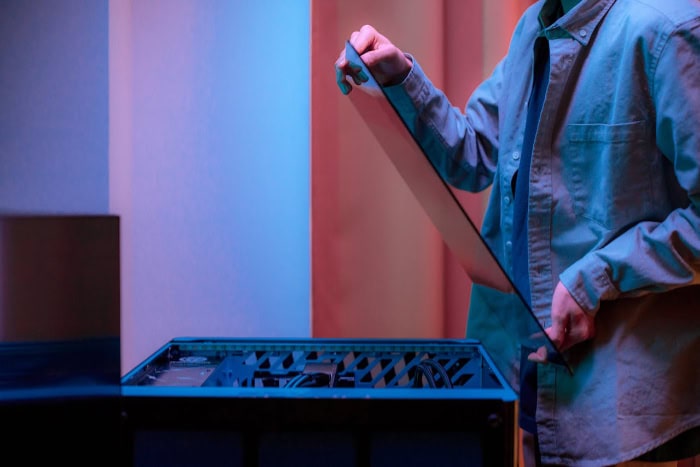
So the cables are tucked away, the case panels are secured, and your new PC is ready to meet the outside world. The next steps are just as important as the hardware build.
Setting up software and testing the system ensure that your freshly assembled computer is ready for anything you throw at it. Moving from hardware to software marks the home stretch, but patience and thoroughness here pay off with a stable and high-performing machine.
Software Installation
Installing your operating system and drivers typically takes between thirty and sixty minutes, depending on connection speed and how updated your installation media is. Booting for the first time, you might need to adjust BIOS settings so the system recognizes drives and memory accurately.
Following that, loading up your operating system is usually straightforward, with modern installers guiding you through most of the process.
Drivers for your motherboard, graphics card, and other components are essential for stability and performance. Downloading and updating them can take additional time, especially if you are using a slower connection or if Windows Update pulls in large files.
After the basics, adding essential utilities such as web browsers, security tools, and file management software often requires another twenty minutes. Taking the time here to get everything up to date and installed properly avoids headaches down the road.
System Validation
A new PC deserves a thorough shakedown before you call the build complete. Stress testing helps identify issues before they turn into bigger problems and can take anywhere from thirty to sixty minutes.
Running programs that push the CPU, GPU, and memory to their limits helps reveal instability, inadequate cooling, or power problems. It is much better to catch these faults now, in a controlled setting, than in the middle of a project or favorite game.
Thermal and performance benchmarking wraps up the process, verifying the system runs as expected and temperatures remain in safe ranges. Popular benchmarking tools take around twenty minutes to give you a sense of your PC’s capabilities, comparing your results to similar systems.
Monitoring temperatures, clock speeds, and fan curves ensures your build is not only powerful, but also reliable in the long run.
Conclusion
Building a PC doesn’t fit a single timeline. For some, the full process, including research, assembly, setup, and troubleshooting, may take just an hour or two.
Others find their build stretches over several days due to research, part selection, complex features, or the need to resolve unexpected issues. Most builders can expect assembly alone to last anywhere from one to four hours, with additional time for software setup, testing, and validation.
Preparation remains the single biggest factor in how smoothly and quickly the build unfolds. Careful research, organized parts, and a dedicated workspace can save hours and minimize stress.
Whether you’re a first-timer or a seasoned builder, investing time upfront in planning pays off at every step, making the experience more enjoyable and your new PC more reliable.


