How to Successfully Replace Your PC's Graphics Card

Upgrading your PC with a new graphics card can transform your computing experience, catapulting you from basic functionality to high-octane gaming and advanced graphic design. It's a move that many tech enthusiasts and professional users make to keep up with the ever-evolving demands of software and games.
Whether you're aiming for smoother frame rates, sharper images, or just a general performance boost, swapping out your old graphics card for a new one is a surefire way to achieve these goals.
Preparation Steps
Before diving into the hardware swap, it's crucial to prepare adequately. Proper preparation ensures a smooth transition to your new graphics card, minimizing risks and potential hiccups.
Tools Required
Every good craftsman needs their tools, and in the realm of PC upgrades, the essentials aren't too complex. A Phillips head screwdriver is a must for opening the PC case and unscrewing the graphics card.
An anti-static wrist strap is also highly recommended to prevent static electricity from damaging the PC components. It's a small investment that can save you from big losses.
Safety Precautions
Safety first! Power down your PC completely and unplug it from the power source. It's also wise to disconnect all peripherals like keyboards, mice, and monitors.
Using the anti-static wrist strap will help protect the sensitive electronics inside your PC from static discharge. Make sure you're working in a clean, well-lit, and static-free environment.
Identifying the Right Graphics Card
Compatibility is key. The new graphics card must fit physically into your PC's case and be compatible with the motherboard.
Checking the PCI Express (PCIe) slot on your motherboard is a good start. Also, ensure your power supply unit (PSU) can handle the new card's power requirements.
Don't forget to consider the card's dimensions to ensure it fits inside your case, especially if you have a smaller form factor or mini PC.
Removing the Old Graphics Card
Taking out the old graphics card is the first real step in your upgrade journey. This process requires careful handling and attention to detail to avoid damaging your PC's components.
Step-by-Step Guide to Safely Remove the Existing Card
- Access the Interior: Open your PC case. This usually involves removing side panels, which are typically held in place by screws or latches.
- Locate the Graphics Card: It's usually the large component attached to the motherboard, often secured with one or two screws to the case.
- Disconnect Power Connectors (If Applicable): If your graphics card has power connectors, gently unplug them. These can be 6-pin or 8-pin connectors and are usually located at the top or end of the card.
- Unscrew and Release the Card: Unscrew the card from the case and gently press down on the release latch at the end of the PCIe slot. This latch holds the card in place.
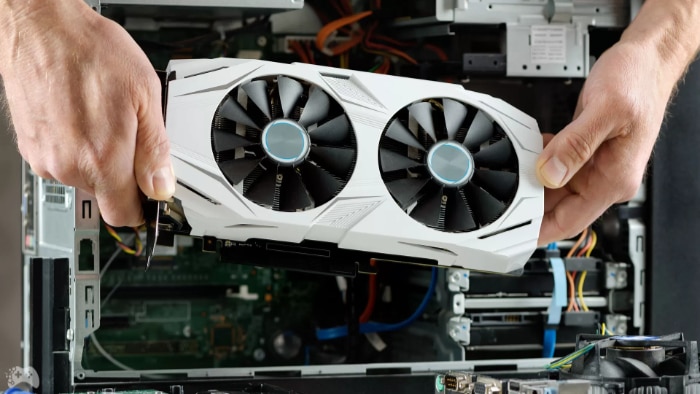
- Gently Remove the Card: Holding the card by its edges, carefully lift it out of the slot. Avoid touching any of the components on the board or the connectors.
Handling Tips and Storage Advice for the Old Card
Once you have removed the graphics card, handle it with care. If you plan to sell, donate, or reuse the card, it's important to store it properly.
Place the card in an anti-static bag to prevent any static damage. If you don't have an anti-static bag, a dry, non-conductive place will do temporarily.
Keep the card in a cool, dry place away from direct sunlight or any magnetic sources.
Installing the New Graphics Card
After removing the old graphics card, the next step is to install the new one. This is an exciting part of the upgrade, as it brings you closer to experiencing enhanced graphics performance.
Detailed Installation Process
- Preparing the Slot: Check the PCIe slot (where the old card was) and ensure it’s clean and free of dust.
- Aligning the Card: Carefully align the new graphics card with the PCIe slot. Make sure the faceplate is lined up with the back panel slots.
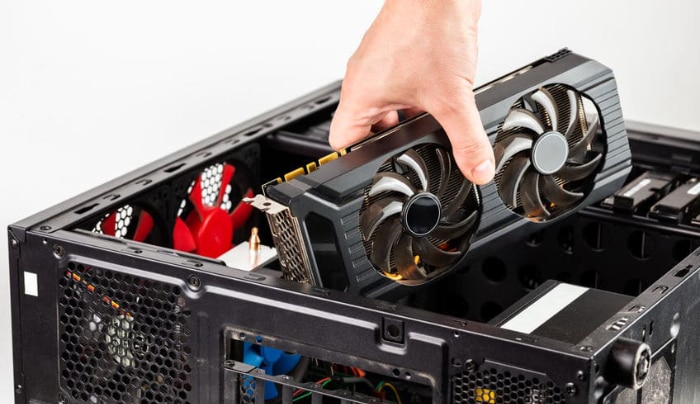
- Securing the Card: Once the card is aligned, gently press it into the slot. You should hear a click as the card's connector seats securely in the PCIe slot.
- Screwing in the Card: Use the screws you removed from the old card to secure the new card to the case. This prevents any movement or sagging of the card.
- Connecting Power Supply (if Required): If your new graphics card has power connectors, plug in the PCIe power cables from your power supply unit. These can be 6-pin or 8-pin connectors, depending on the card.
Ensuring Proper Seating and Connection to the Motherboard
After installing the card, double-check that it is seated properly. A properly installed card will sit evenly in the slot without any angle or wiggle.
The faceplate should be flush with the back panel of the case. If the card is not seated correctly, it may not function properly or could cause damage to the motherboard.
Connecting Power Supply to the Graphics Card (if Applicable)
For graphics cards requiring additional power, ensuring a secure connection with the power supply is crucial. Incorrect or loose connections can lead to power issues or even hardware damage.
Match the power connectors to the ports on the graphics card and plug them in firmly but gently.
Software and Driver Updates

With your new graphics card physically installed, the next crucial step is to update the software and drivers. This ensures that your computer can effectively communicate with the new hardware and leverage its full potential.
Importance of Installing the Latest Drivers
Drivers are the bridge between your PC's hardware and its operating system. For your graphics card to function optimally, it requires the latest drivers.
These drivers are regularly updated by manufacturers to fix bugs, improve performance, and add new features. Running your graphics card on outdated drivers can lead to issues like poor performance, crashes, and limited functionality.
Where to Find and How to Install Graphics Card Drivers
You can usually find the latest drivers on the manufacturer's website. For NVIDIA cards, visit the NVIDIA website, and for AMD cards, visit the AMD website.
Simply navigate to the drivers or support section, enter your graphics card model, and download the appropriate drivers.
Installation is typically straightforward:
- Run the Installer: After downloading, run the installer file.
- Follow the On-Screen Instructions: The installer will guide you through the process. It's usually a matter of clicking ‘Next' a few times and agreeing to the terms and conditions.
- Restart Your Computer: After the installation completes, restart your computer to ensure the changes take effect.
Troubleshooting Common Driver Issues
Occasionally, you might encounter issues during or after driver installation. Common problems include screen flickering, performance drops, or the computer failing to recognize the graphics card.
Here are a few troubleshooting steps:
- Complete Uninstall and Reinstall: Sometimes, a clean installation is necessary. Uninstall the current driver, restart your PC, and then install the new driver.
- Check for Updates: Ensure that your operating system is up to date, as this can affect driver functionality.
- Seek Help Online: If problems persist, online forums and the manufacturer’s support site can be great resources for solutions.
Performance Testing and Optimization
Once your new graphics card is installed and the drivers are updated, it's time to see what it can do. Performance testing and optimization are vital to ensure you're getting the best experience possible.
Tools and Methods for Testing the New Graphics Card
There are several tools available for testing the performance of your graphics card. Popular ones include 3DMark, Unigine Heaven, and FurMark.
These programs push your graphics card to its limits, providing you with valuable information on how it performs under stress. They simulate demanding gaming environments and render complex scenes, allowing you to see how your card handles these tasks.
Adjusting Settings for Optimal Performance
Once you have your benchmark results, you may want to tweak some settings for optimal performance. This could involve adjusting in-game graphics settings, changing the resolution, or altering the card's settings in its control panel.
The goal is to find a balance that offers both high-quality visuals and smooth performance. Remember, higher settings will look better but may reduce the frame rate, so it's about finding what works best for your needs.
Monitoring Temperature and Performance Post-Installation
Monitoring your graphics card’s temperature is important, as overheating can lead to decreased performance or damage. Most graphics cards come with their own monitoring software, or you can use third-party tools like GPU-Z or HWMonitor.
Keeping an eye on performance metrics like frame rate can also help you understand how your card performs in real-world scenarios. This ongoing monitoring is key to maintaining optimal performance over time.
Conclusion
Upgrading your PC with a new graphics card can feel like a daunting task, but with the right guidance and steps, it's an incredibly rewarding process. From preparing with the necessary tools and safety measures to the careful removal of the old card, each step plays a crucial role in the upgrade journey.
The installation of the new graphics card marks a significant milestone, bringing enhanced performance and graphics capabilities to your system.
Ensuring your software and drivers are up to date is just as important as the hardware installation. It's the key to unlocking the full potential of your new graphics card.
And when it comes to performance testing and optimization, these final touches fine-tune your system, ensuring you get the best balance of quality and performance.
Remember, upgrading your graphics card isn't just about boosting frame rates or achieving crisper images. It's also about extending the lifespan of your PC and keeping up with the evolving demands of software and gaming.
Your journey through selecting, installing, and optimizing your graphics card is a testament to your commitment to enhancing your computing experience. With this guide, you're now well-equipped to enjoy the vivid and dynamic world that your upgraded PC has to offer.


