How to Fix No Display Problem After CPU Installation

In the intricate world of computer hardware, the Central Processing Unit (CPU) serves as the brain, responsible for executing commands and managing data in every application and process.
As vital as it is, upgrading or replacing a CPU can sometimes be a challenging task, even for those with a good understanding of computer systems. A common issue encountered during this process is finding yourself staring at a blank screen or, in technical terms, dealing with “no display” after installing a new CPU.
When you power up your computer expecting to see the familiar startup screen, but instead, the monitor remains dark or displays a no signal message, it's natural to feel a sense of panic. However, this issue is more common than you might think and can often be resolved with the correct troubleshooting steps.
This blog post aims to equip you with the necessary knowledge to understand why this problem occurs and how to address it effectively.
Basics of CPU and Its Role in Display
Understanding the CPU's role and its relationship with display functionalities is essential in navigating issues like no display after a CPU installation.
Understanding the CPU
The Central Processing Unit (CPU), often referred to as the “brain” of the computer, is a primary component that carries out most of the processing inside computers. As an essential part of a computer, the CPU handles all instructions it receives from hardware and software running on the computer.
CPUs carry out billions of calculations per second. These instructions involve basic arithmetic, logical comparisons, and input/output operations, which collectively enable the functioning of all the software applications you interact with daily, from your operating system to your web browser, and from your games to your productivity software.
The CPU's Role in Computer Display
While the CPU itself does not directly handle the display of your computer—that's the role of your graphics card or integrated graphics—it does play a vital role in this process. The CPU and the GPU (Graphics Processing Unit) work in tandem to produce the images that appear on your monitor.
In essence, the CPU prepares data and instructions for the GPU to render into an image. The CPU performs calculations to determine what you should see (for instance, in a video game, it might calculate the physics of a character jumping). Then, it sends this data to the GPU, which works to render it into pixels on your monitor.
CPU Installation and Potential Display Issues
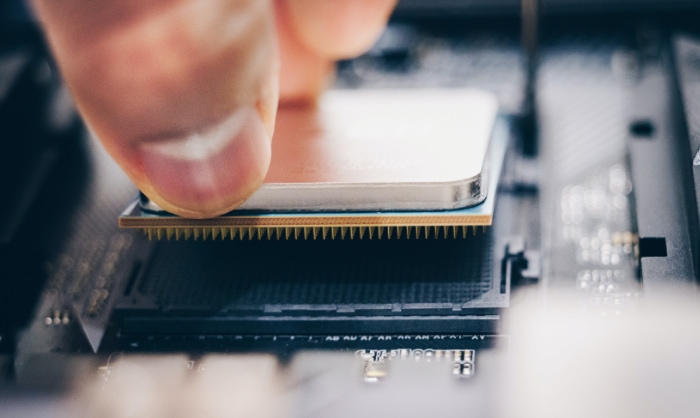
Installing or upgrading a CPU involves careful handling and a precise process. A new CPU must be compatible with your motherboard, properly placed in the CPU socket, and adequately cooled with a heat sink and fan.
Additionally, your computer's BIOS (Basic Input/Output System) may need to be updated to recognize the new CPU.
If any of these elements are not correctly managed, it can result in a variety of issues, one of which is the “no display” problem. While the root cause may be directly linked to the CPU installation, it can also stem from associated issues like power supply problems, incompatibilities, or even damaged hardware.
Common Causes for No Display After CPU Installation
Before diving into troubleshooting steps, it's crucial to understand the potential causes behind the no display issue after a CPU installation. This section outlines the most common reasons that could lead to this problem.
CPU-Motherboard Incompatibility
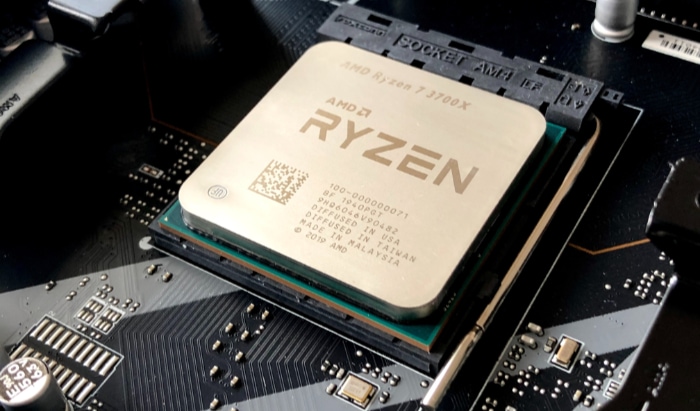
One of the most common causes of no display after installing a new CPU is incompatibility between the CPU and the motherboard. Not all CPUs are compatible with all motherboards, and using an incompatible pair can result in various issues, including no display.
Factors like the CPU socket type, chipset compatibility, and even the BIOS version of the motherboard can affect compatibility. Therefore, before purchasing and installing a new CPU, it's essential to ensure that your motherboard supports it.
Incorrect CPU Installation
Another common cause of display issues is incorrect CPU installation. If the CPU is not correctly seated in the socket, or if the pins on the CPU or the socket are bent or damaged, it could lead to a range of problems, including no display.
Additionally, if the thermal paste is not applied correctly, or if the CPU cooler is not properly attached, the CPU might overheat, causing the system to shut down to protect the CPU, which can be mistaken for a display issue.
Insufficient Power Supply

The power supply unit (PSU) provides the necessary power for all the components in your computer, including the CPU. If your PSU doesn't supply enough power to run the new CPU, the computer might not boot up, resulting in no display.
This issue often arises when upgrading from a lower-power CPU to a higher-power one without also upgrading the PSU to match the new CPU's requirements.
Outdated BIOS
The Basic Input/Output System (BIOS) is the software that initializes your hardware during the booting process. If your BIOS is outdated, it may not recognize the new CPU, causing the boot process to fail and resulting in no display.
It's often necessary to update the BIOS before installing a new CPU, especially if the CPU is a newer model than the motherboard.
Damaged Hardware
Finally, no display after installing a new CPU could be due to other damaged hardware components. For example, if your RAM, GPU, or motherboard is damaged, it could prevent the computer from booting up, leading to no display.
While these issues are not directly related to the CPU installation, it's possible to inadvertently damage these components during the CPU installation process, so they are worth checking if you're experiencing a no display issue.
Troubleshooting Steps for No Display After CPU Installation
Once we understand the possible causes, we can take the next step—troubleshooting. This section provides a detailed guide to troubleshooting the issue of no display after installing a new CPU. We'll walk through each step methodically to help you bring your computer display back to life.
Verifying CPU-Motherboard Compatibility
The first step in troubleshooting is to verify that your new CPU is compatible with your motherboard. You can do this by checking the manufacturer's website or the documentation that came with your motherboard.
Look for a list of supported CPUs and ensure your new CPU is on that list. If it's not, you'll likely need to replace either the CPU or the motherboard with a compatible one.
Checking CPU Installation
If your CPU is compatible with your motherboard, the next step is to double-check your CPU installation. Begin by ensuring that the computer is unplugged, then open up your computer case.
Check that the CPU is correctly seated in its socket and that the CPU cooler is securely attached. If you notice any bent pins on the CPU or the socket, you'll need to carefully straighten them or replace the damaged part.
Also, verify that you've applied the correct amount of thermal paste—usually a pea-sized amount in the center of the CPU. Too much or too little can cause issues.
Inspecting the Power Supply
Next, check that your power supply unit (PSU) is providing enough power for your new CPU. The power requirements will be listed in the CPU's documentation or on the manufacturer's website. If your PSU doesn't provide enough power, you'll need to replace it with a more powerful one.
Updating the BIOS
If your CPU is correctly installed and your PSU is providing enough power, the next step is to check your BIOS. If it's outdated, you may need to update it. You can typically download the latest BIOS version from the motherboard manufacturer's website.
Remember that updating the BIOS can be risky—if something goes wrong, it could make your computer unbootable. Therefore, follow the manufacturer's instructions carefully and ensure that your computer is not at risk of losing power during the update process.
Checking for Damaged Hardware
Finally, if none of the above steps have resolved the issue, you may be dealing with damaged hardware. Check your RAM, GPU, and other components for visible damage. If possible, test these components in another computer to verify whether they're working.
Remember to handle all hardware with care to prevent static damage, and if you're not comfortable doing these checks yourself, consider taking your computer to a professional.
Conclusion
In conclusion, experiencing no display after installing a new CPU can indeed be a daunting issue. However, as we've discussed throughout this post, it is most often a solvable problem, especially when approached methodically and patiently.
By understanding the integral role of the CPU and its interaction with other computer components, we can appreciate how compatibility, installation, power supply, BIOS updates, and overall hardware health are all interconnected in ensuring a successful CPU upgrade.
Remember, each troubleshooting step brings you closer to resolving the issue.
Finally, it's essential to know when to seek professional help. If you've followed the steps in this guide and still encounter problems, don't hesitate to reach out to a computer repair specialist. Upgrading your CPU should ultimately lead to a better computing experience, not a stressful one.
In the intricate world of computer hardware, a problem is merely an invitation to learn more and become more adept at navigating your system. So, keep learning, keep exploring, and remember that every issue, including a display that won't light up, can be a stepping stone to greater understanding and proficiency.


