How to Fix High CPU Usage: Quick Solutions You Can Try

Your computer should be a tool that works seamlessly, but when it slows to a crawl or fans roar at full blast, it’s often the result of high CPU usage. The CPU, or central processing unit, is the brain of your system, and when it’s overwhelmed, everything from opening a browser to running your favorite games can feel sluggish or even grind to a halt.
This is more common than you might think, and the good news is, it’s fixable.
Spotting high CPU usage is easier than ever, with symptoms like slow response times, system freezes, or programs refusing to load. But what’s causing the issue? Whether it’s demanding apps, hidden background processes, or even malware, identifying and fixing the problem can dramatically boost performance.
CPU Usage Explained
CPU usage is a direct indicator of how hard your computer’s central processor is working at any given time. While some activity is perfectly normal, excessive CPU usage can lead to performance bottlenecks, slow response times, and even system overheating.
To effectively address such issues, it’s important to differentiate between normal CPU activity and potentially problematic usage. Additionally, identifying the reasons behind high CPU consumption is the first step toward regaining a smooth and efficient computing experience.
Normal vs. Problematic Usage
Your computer’s processor is always working, whether it’s executing background tasks, running applications, or handling system processes. A healthy baseline for CPU usage often falls between 1% and 10% when idle, with spikes into the 20-30% range during light usage, such as web browsing or streaming video.
If you’re running more demanding programs, such as games or editing software, it’s typical to see usage reach higher levels, often between 70% and 100%.
The problem arises when high CPU usage persists without an apparent reason or when it prevents other tasks from running properly. Warning signs include slow application performance, system freezes, excessive heat or fan noise, and even unexpected shutdowns.
When the CPU is overwhelmed, it creates a bottleneck that affects nearly every aspect of your system’s functionality.
Common Causes
High CPU usage can stem from a variety of sources, ranging from everyday software behavior to more serious system-level issues. While some causes are easy to identify, others may require deeper investigation.
One of the most common reasons is running resource-intensive applications, such as video editing tools, 3D rendering software, or modern games. These programs require significant processing power to function, and prolonged usage can overwhelm your system if the hardware isn’t up to the task.
However, not all issues stem from active applications.
Background processes, such as automatic updates, system indexing, or third-party apps running silently, can also eat into CPU resources without you realizing it. Over time, unused or unnecessary background activities may stack up, leading to persistent performance issues.
At times, system-level operations like corrupted files or outdated drivers can cause inefficiencies that force the CPU to work harder. Lastly, malicious software like viruses, spyware, or cryptojacking scripts can hijack your system resources, leaving your CPU struggling to keep up.
Immediate Solutions

When high CPU usage disrupts your computer’s performance, taking immediate action is often the best course of action. There are several quick and effective ways to ease the burden on your CPU, many of which can be done using the tools already built into your system.
Task Manager Techniques
The Task Manager is one of the most valuable tools for diagnosing and resolving CPU issues. It allows you to monitor which programs and processes are consuming the most system resources, making it easier to target what needs to be addressed.
Opening the Task Manager is simple—on Windows, you can access it by pressing Ctrl + Shift + Esc or searching for it from the Start menu.
Once you’ve opened the Task Manager, navigate to the “Processes” tab, where you’ll find a detailed list of all active applications and background tasks. Pay attention to the “CPU” column, as it displays the percentage of CPU usage for each process in real time.
Programs consuming unusually high percentages may indicate an issue. For example, a browser tab with a misbehaving script or an application stuck in a processing loop could be responsible for the spike.
Ending unnecessary programs is another effective way to free up CPU resources. Select the resource-heavy process, then click “End Task.” Be cautious when ending tasks; avoid terminating system-critical processes, as this might cause system instability.
To prevent resource issues from recurring, you can also manage startup applications. Many programs automatically run in the background when your system boots up, which can contribute to higher CPU usage.
Navigate to the “Startup” tab in the Task Manager and disable any non-essential programs to streamline your system.
Quick Fixes
Sometimes, quick adjustments can significantly reduce CPU load without requiring much effort. One common cause of high CPU usage is inefficient browser performance.
Modern browsers can consume excessive resources, especially when multiple tabs or extensions are active. Closing unnecessary tabs, disabling unused extensions, and clearing cache data can noticeably reduce the strain on your processor.
Clearing temporary files is another straightforward fix. Temporary files build up over time and can contribute to system sluggishness.
On Windows, you can use the built-in Disk Cleanup tool or third-party tools to remove unneeded files that may be slowing your computer.
Lastly, restarting your computer can often be the simplest yet most effective solution. A reboot clears out temporary glitches and resets system processes, giving your CPU a fresh start.
While it doesn’t address underlying causes, it can provide an immediate improvement in system performance and help identify whether the issue is persistent or temporary.
These techniques work best when used regularly, not just during moments of high CPU usage. They act as both quick fixes and preventive measures, ensuring that your system runs efficiently with minimal interruptions.
System Optimization

A well-optimized system not only enhances performance but also ensures your computer runs efficiently under various workloads. Regular maintenance and strategic tweaks can prevent unnecessary strain on your CPU, keeping the system stable and capable of handling demanding tasks.
Software Management
One of the most effective ways to keep your system running smoothly is by managing the software it depends on. Regular updates, driver maintenance, and adjusting Windows services can significantly improve performance and reduce CPU load. Here’s how you can do it step by step.
Installing System Updates
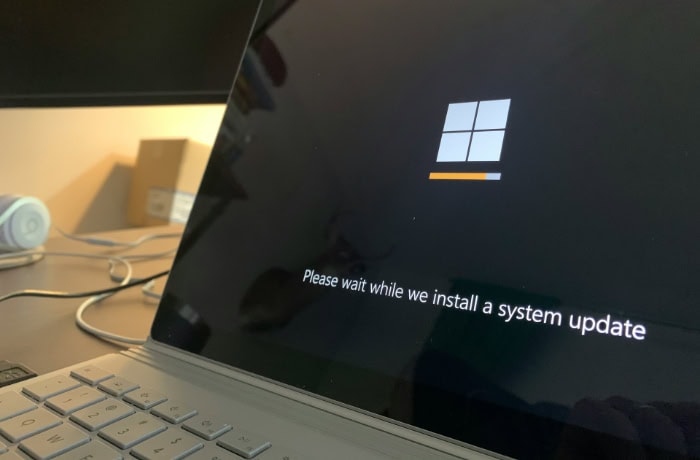
Operating system and app updates often contain important performance enhancements and bug fixes. Follow these steps to update your system:
- For Windows Updates:
- Press Win + I to open Settings.
- Navigate to Update & Security and click Check for updates.
- If updates are available, download and install them.
- Restart your computer afterward to apply the changes.
- For Third-Party App Updates:
- Open the application (e.g., browsers, video editors).
- Check the settings or “Help” menu for an Update option. Many apps also prompt you to update automatically.
Updating Drivers
Outdated drivers can cause instability and high CPU usage. To update drivers:
- Press Win + X or right-click the Start button and select Device Manager.
- Locate the hardware you want to update. For example, to update graphics drivers, expand Display Adapters.
- Right-click the component and select Update driver.
- Choose Search automatically for drivers to let Windows find the latest version.
- If no updates are found, visit the manufacturer’s website (e.g., NVIDIA, AMD, Intel) to manually download the latest driver version and follow the installation steps provided.
Managing Windows Services
Windows runs several background services that can consume CPU resources. While many are necessary, some may not be relevant to your needs. Here's how to adjust them:
- Press Win + R, type services.msc, and press Enter to open the Services window.
- Scroll through the list of services and look for ones that you don’t use regularly, such as Bluetooth Support Service (if you don’t use Bluetooth devices) or Connected User Experiences and Telemetry.
- Double-click the service you want to manage.
- In the Startup type dropdown menu, select Disabled or Manual if the service is non-critical.
- Click OK to save the changes.
Important: Be cautious when disabling services. Research each service online before turning it off to ensure it’s not essential to your system's operation. For example, services like Windows Audio and Windows Update should remain active.
Performance Tweaks
Adjusting performance-related settings can make a noticeable difference in CPU usage, especially if your system struggles with resource-intensive tasks or processes. Optimizing power plans, visual effects, and virtual memory can significantly reduce CPU strain while improving overall speed and responsiveness.
Below are clear steps to guide you through these changes.
Modifying Power Plan Settings
Windows offers different power plans that determine how your computer uses energy and resources. Adjusting the power plan can balance performance and efficiency. Here’s how to change it:
- Press Win + I to open Settings.
- Go to System, then select Power & Sleep from the left-hand menu.
- Click Additional power settings under the “Related settings” section.
- In the Power Options window, choose a plan:
- Select Balanced for everyday use, as it balances performance with energy consumption.
- If you need maximum performance temporarily (e.g., for gaming or video editing), select High Performance or Ultimate Performance if available, but keep in mind it will consume more resources.
- Close the window, and the changes will automatically take effect.
This simple adjustment can prevent CPU overuse during light tasks and boost performance when needed.
Adjusting Visual Effects
Modern operating systems include animations and visual effects that enhance appearance but can significantly impact CPU performance, particularly on older systems or when resources are limited. Reducing or disabling these effects is a quick way to lighten the load.
- Press Win + R, type sysdm.cpl, and press Enter to open the System Properties window.
- Navigate to the Advanced tab and click Settings under the Performance section.
- In the Performance Options window, do one of the following:
- Select Adjust for best performance to disable all visual effects. This is ideal for low-powered systems.
- Alternatively, select Custom and manually uncheck features like Animate windows when minimizing and maximizing or Fade or slide menus into view to keep some effects while disabling the more demanding ones.
- Click Apply and then OK to save the changes.
This tweak can significantly improve responsiveness without compromising usability.
Configuring Virtual Memory
Virtual memory acts as an overflow for RAM by using a portion of your hard drive or SSD. If it’s not set up correctly, it can cause performance bottlenecks and high CPU usage. Properly configuring virtual memory ensures your system handles multitasking more smoothly.
- Press Win + R, type sysdm.cpl, and press Enter to open System Properties.
- Go to the Advanced tab and click Settings under the Performance section.
- In the Performance Options window, switch to the Advanced tab and click Change under the Virtual memory section.
- Uncheck Automatically manage paging file size for all drives to enable manual configuration.
- Select your system drive (usually C:) and choose Custom size. Set the Initial size and Maximum size based on your system’s RAM:
- Initial size: Use a value roughly equal to 1.5 times your installed RAM (e.g., for 8GB RAM, set 12,000MB).
- Maximum size: Use a value up to 3 times your installed RAM (e.g., for 8GB RAM, set 24,000MB).
- Click Set, then OK, and restart your computer to apply the changes.
Adjusting virtual memory can prevent unnecessary CPU spikes caused by insufficient memory, particularly when multitasking or running memory-intensive applications.
Advanced Troubleshooting

When basic fixes and optimizations don’t resolve high CPU usage, advanced troubleshooting can help uncover deeper issues affecting your system. Diagnostic tools and hardware evaluations allow for a more thorough investigation, pinpointing problems that may not be obvious.
Diagnostic Tools
Windows is equipped with several diagnostic tools designed to monitor and analyze system performance. These tools provide insights into CPU usage patterns, process behavior, and potential system errors that could be behind resource bottlenecks.
The Performance Monitor is a powerful utility for tracking system activity in real time. By typing “Performance Monitor” into the Windows search bar, you can access a detailed view of how your CPU is being used.
The tool lets you add custom counters to monitor specific processes, threads, or services over time. This is particularly helpful for identifying trends in CPU usage and spotting tasks that repeatedly consume excessive resources.
Another tool, the Event Viewer, focuses on system logs and error reporting. It provides a detailed history of system events, including warnings and critical errors related to hardware, drivers, or software.
Searching through the application and system logs can help you determine if high CPU usage is due to recurring errors or misconfigured services.
For an even closer look, the Resource Monitor offers a granular breakdown of CPU activity. This tool displays active processes, their CPU usage, and the relationship between processes and other system resources.
It’s especially useful for identifying processes with abnormally high CPU usage and tracing their dependencies, making it easier to decide which programs need to be adjusted or terminated.
Hardware Considerations
Sometimes, the root cause of excessive CPU usage lies in the physical hardware itself. Investigating hardware performance and addressing potential issues is critical, especially if your system has been running for an extended period or experiences frequent overheating.
Temperature monitoring is a crucial first step. Modern CPUs are designed to throttle their performance when temperatures exceed safe limits, which can lead to poor efficiency and spikes in usage.
Using tools like HWMonitor or your motherboard’s built-in monitoring software, you can check the CPU temperature in real time. If the temperature consistently exceeds normal operating ranges (typically 60–80°C under load), cooling problems may be responsible.
Regular cooling system maintenance is essential to prevent heat buildup. Dust and debris can accumulate in your system's fans and heat sinks, obstructing airflow and reducing their effectiveness.
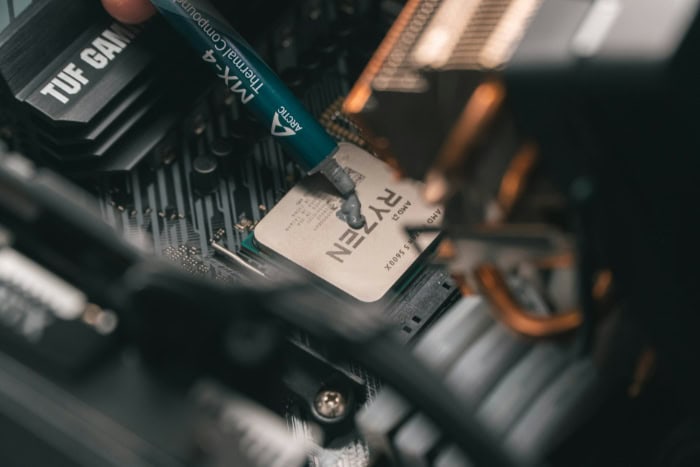
Cleaning your fans and ensuring that your thermal paste is adequately applied can make a noticeable difference in keeping the CPU cool. An efficient cooling system allows your CPU to work at its full potential without throttling.
In some cases, your hardware itself may not be powerful enough to handle the tasks you’re asking it to perform. A hardware upgrade may be the only viable solution for improving performance.
If high CPU usage persists even after optimization, consider upgrading to a processor with more cores or a higher clock speed. Pairing a new CPU with adequate RAM and a solid-state drive can further reduce strain and significantly enhance your system’s responsiveness.
Long-term Prevention

Preventing high CPU usage over the long term requires consistent maintenance and thoughtful system management. By taking proactive steps to keep your computer clean, updated, and efficient, you can minimize the chances of performance issues.
Maintenance Practices
Regular system updates are one of the simplest yet most effective ways to keep your computer running smoothly. Updates often include vital performance enhancements and security patches that address inefficiencies in the system.
Whether it’s the operating system, applications, or firmware, staying current with updates ensures that software issues do not contribute to increased CPU usage.
Disk cleanup should also be a regular task. Over time, temporary files, unused system logs, and other clutter can accumulate, taking up valuable storage space and potentially slowing down your system.
Tools like the built-in Disk Cleanup utility on Windows or third-party cleaning programs can help you regularly purge unnecessary files, allowing your computer to allocate resources more effectively.
Antivirus maintenance is equally crucial for long-term prevention. While antivirus software plays a vital role in safeguarding your system, outdated or improperly configured antivirus programs can consume excessive CPU resources.
Ensure that your antivirus software is up to date and scheduled to scan during periods of low activity. Investing in lightweight security solutions tailored to your system’s capabilities can prevent resource overuse and protect against malware that might hijack CPU power.
Resource Management
Thoughtful resource management begins with how you install and manage applications. Overloading your system with unnecessary software, especially applications that launch at startup, can lead to persistent high CPU usage.
Only install programs that you genuinely need, and periodically review your installed applications to remove redundant or obsolete ones. Limiting what loads at startup improves performance by reducing the number of background processes your CPU needs to handle immediately after booting up.
Browser extensions can also significantly impact CPU efficiency. While they add functionality to your web browsing experience, too many active extensions can slow your system, particularly when they run scripts in the background.
Removing unused or outdated extensions and using only those that are essential can streamline your browser’s performance and free up resources for other tasks.
Background process optimization is another critical factor. Many programs, even after they are closed, continue to run in the background and consume CPU resources.
Accessing your system’s Task Manager allows you to monitor and terminate unnecessary background tasks. Additionally, you can adjust app settings to prevent non-critical processes from running automatically in the background, further reducing CPU demands.
Preventative measures like these not only help avoid performance problems but also extend the overall lifespan of your computer. With consistent maintenance practices and careful resource management, you can ensure that your system operates efficiently for years to come.
Conclusion
High CPU usage can disrupt your daily tasks and affect your system’s overall performance, but with the right approach, it’s an issue that can be resolved and prevented. Identifying and addressing resource-heavy processes, optimizing your system settings, and maintaining your hardware are essential steps to restoring smooth functionality.
Incorporating regular maintenance practices, such as updating your software and managing background processes, further ensures your computer stays reliable over time.
Achieving a well-balanced system involves a combination of immediate fixes, thoughtful optimizations, and proactive care. By implementing these strategies, you can extend the life of your hardware, reduce frustration during heavy workloads, and maintain a computer that runs effectively under all conditions.
A little effort now can save you time, money, and stress in the long run.


